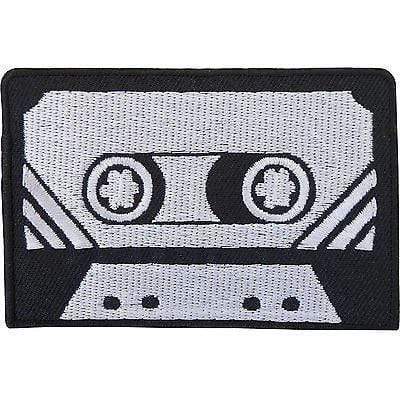
Welcome, patch enthusiasts, fashionistas, and crafty creatives of all ages! Today, we embark on a journey filled with color, flair, and a touch of nostalgia. That's right, we're diving into the world of iron-on patches for clothes! So grab your iron, your favorite garments, and let's jazz up our wardrobes with a sprinkle of patch magic.
Why Patches?
Let's start with the burning question: Why patches? Well, dear readers, patches are like tiny storytellers that adorn our clothes. They speak of memories, passions, and a dash of whimsy. From the classic "Born to Ride" biker patch to the adorable cactus patch, there's a patch for every personality.
The Iron-On Adventure Begins
Now, onto the main act: how to iron on patches for clothes! It's a simple, satisfying process that unleashes your inner DIY guru.
-
Gather Your Tools: You'll need an iron, an ironing board or a flat, heat-resistant surface, your chosen patches, and the garments you want to transform. Pro tip: Make sure your garment can withstand the heat of an iron.
-
Prep Your Patch: Place your garment on the ironing board, smoothing out any wrinkles. Position your patch on the desired spot. This is where the fun begins! Do you want a quirky patch on your denim jacket pocket? Or perhaps a playful patch on your backpack? The choice is yours.
-
Heat It Up: Preheat your iron to the temperature recommended on the patch packaging. Once hot, place a thin cloth over the patch. This protects the patch and your garment from direct heat. Safety first, folks!
-
Press and Hold: Carefully place the iron over the patch and hold it in place for about 10-15 seconds. Apply firm pressure, but don't go Hulk on us. We're aiming for finesse, not smashed patches.
-
Cool Down: After your ironing extravaganza, remove the iron and let the garment cool for a minute or two. This cooldown session is essential for the adhesive to set properly.
-
Peel and Admire: Once cool, gently peel back the cloth covering the patch. Voila! Behold your masterpiece. Admire the newfound charm your patch has bestowed upon your garment.
Crafty Patch Ideas
Now that you're a patch pro, let's explore some crafty ideas to unleash your creativity:
-
Patch Party on Denim: Denim jackets, jeans, and shorts are perfect canvases for patches. Create a funky collage on the back of your jacket or line the pockets with an assortment of mini patches.
-
Bag It Up: Backpacks, tote bags, and messenger bags are begging for patch play. Turn a plain canvas tote into a statement piece with a vibrant patch or two.
-
Hat's Off: Jazz up your hats, beanies, or caps with a single patch for a touch of personality. Bonus points for matching your hat patch with your mood.
-
Patch-tastic Shoes: Sneakers and canvas shoes are blank slates for patch creativity. Cover the toes with tiny patches or go bold with a large patch on the side.
-
Pillow Power: Who said patches are just for clothes? Spruce up plain throw pillows with a few carefully placed patches for a cozy and stylish touch.
A Patch of Nostalgia
As we revel in the joy of iron-on patches, let's take a moment to appreciate the nostalgia they bring. Remember trading patches with friends, each one telling a unique tale? Or the thrill of choosing the perfect patch at a flea market? Patches aren't just embellishments; they're fragments of our stories.
So, whether you're a young trendsetter looking to make a statement or a seasoned fashionista adding a touch of flair, iron-on patches are your trusty sidekick. They're the cherry on top of your fashion sundae, the exclamation mark on your style statement.
As we bid adieu to our ironing adventures, remember: The world is your patch-filled oyster. So grab those patches, fire up the iron, and let your creativity run wild. Patch it up, my friends, and wear your stories proudly!
Until next time, happy patching!
P.S. Always remember to follow the patch and garment care instructions for long-lasting patch love!

